


If you’re running a Linux distro as your daily driver, you can still other distros and OS’. You can even enjoy macOS. Today we’re going to take a look at how to set up a simple macOS Monterey VM in QEMU, accelerated by KVM.
REQUIREMENTS
- A modern Linux distribution
- QEMU > 2.11.1
- A CPU with Intel VT-x / AMD SVM support is required
- A CPU with SSE4.1 support is required for >= macOS Sierra
- A CPU with AVX2 support is required for >= macOS Mojave
- Internet access for the installation process
INSTALL QEMU & OTHER REQUIRED PACKAGES
Open the terminal and run: sudo apt install qemu uml-utilities virt-manager dmg2img git wget libguestfs-tools p7zip
NOTE: Adjust install command and, possibly, packages names according to your distro.
Add user to the kvm and libvirt groups ( reboot after adding ):
sudo usermod -aG kvm $(whoami)sudo usermod -aG libvirt $(whoami)
INSTALL macOS Monterey
1. Open terminal and run git clone --depth 1 --recursive https://github.com/kholia/OSX-KVM.git. When you’re done cloning the git repo, cd into path with cd OSX-KVM

2. Fetch macOS installer with ./fetch-macOS-v2.py
NOTE: Here you can choose which macOS you want to install. We will install Monterey (5). Modern NVIDIA GPUs are supported on High Sierra but not on later versions of macOS.


3. When the download is complete you’ll need to convert the downloaded BaseSystem.dmg file into the required BaseSystem.img. You can do that by running qemu-img convert BaseSystem.dmg -O raw BaseSystem.img


4. Create a virtual HDD image where macOS will be installed. Run qemu-img create -f qcow2 mac_hdd_ng.img 128G
NOTE: You can change the size of the virtual drive. 128 GB is just an example. Also if, for any reason, you want to change the name of the disk image from mac_hdd.img to something else, you’ll also have to update OpenCore-BS.sh to point to the new image name.

5. Now we can start the installation. But before we do, let’s edit the OpenCore-Boot.sh and add more RAM ( by default it’s set to use 3 gigs of RAM ).
8 gigs should be enough. At least Apple seems to think so. If you can “afford” it, change the default CPU values too.
You can do that with your favorite GUI text editor or from the terminal with nano, micro or vim.

6. Now you can start the installation process. Run ./OpenCore-BS.sh

7. You’ll be greeted by this screen. Choose macOS Base System

8. First thing you’ll need to do is run Disk Utility and format your virtual drive.


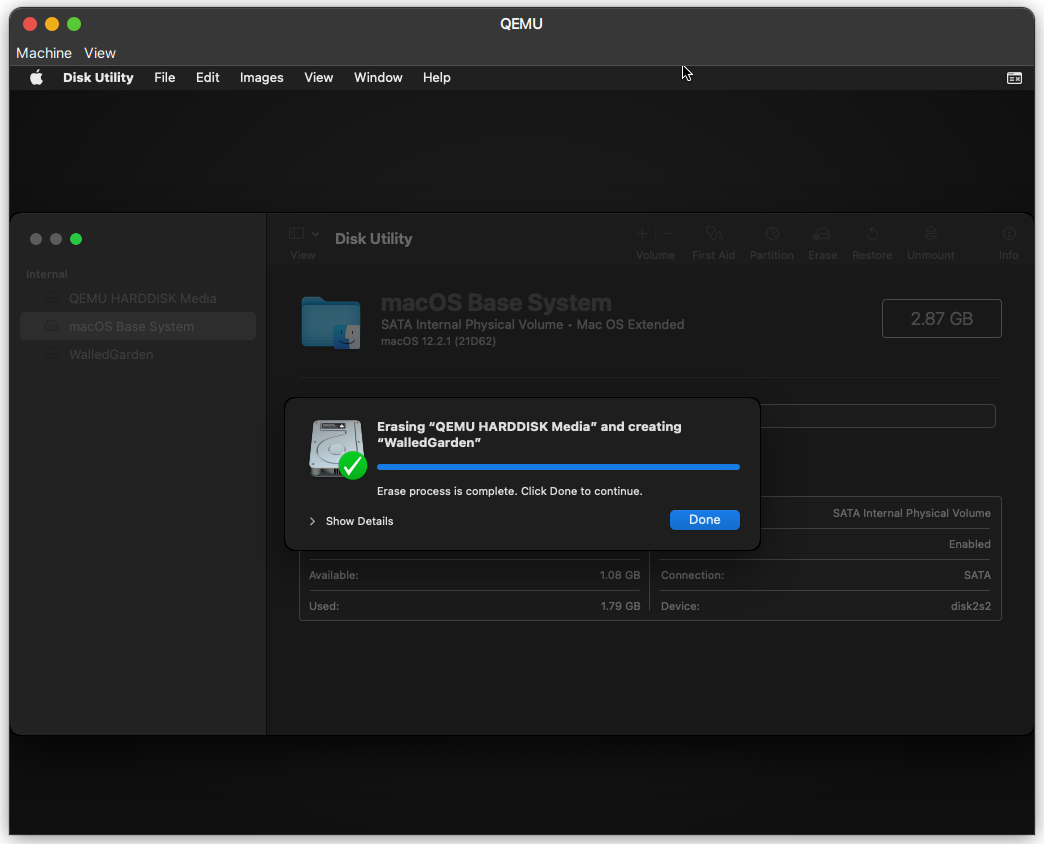
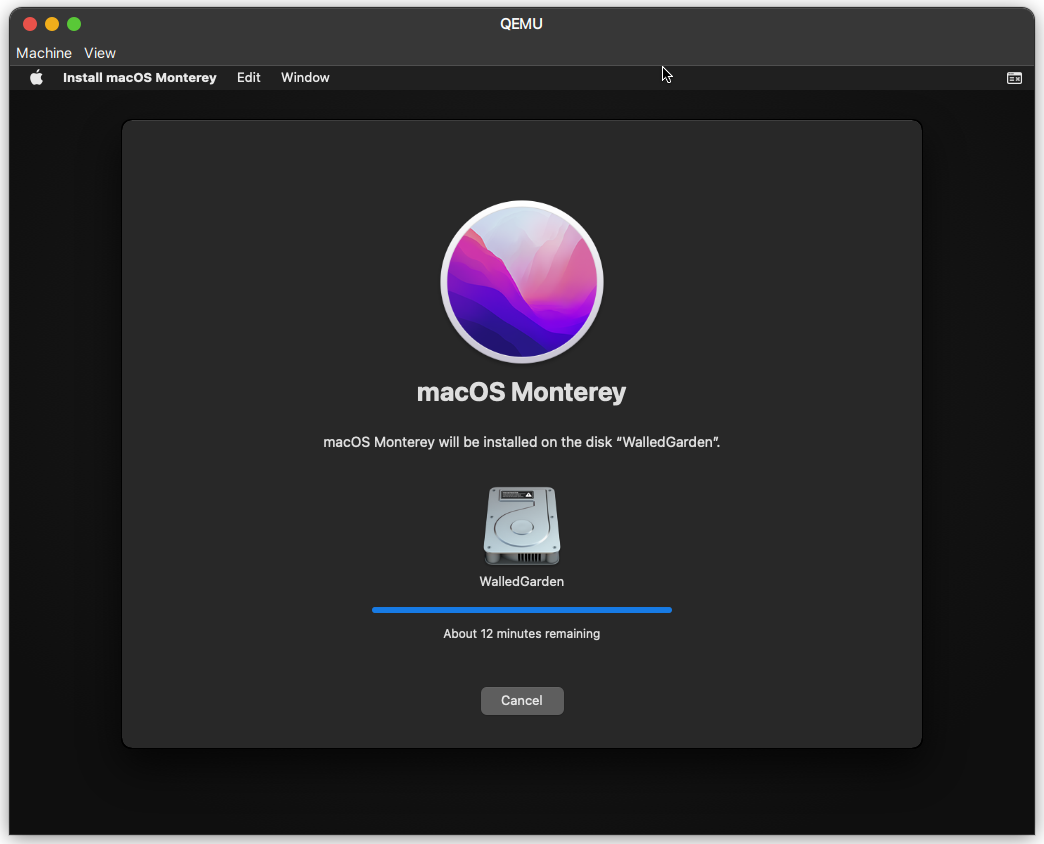
9. Exit Disk Utility, choose Reinstall macOS and go through the usual installation steps.
NOTE: ( depending on how beefy your computer is ) expect this to take a looooong time.


10. During the installation process, your virtual machine will restart and will boot back up. When it does, choose macOS Installer to continue the installation. ( this should happen twice )

11. After a loong time of installing, you will eventually be able to boot into your macOS installation.

12. You will be greeted with the welcome screen where you can set up your account and settings.


Don’t expect this to run just like a Mac. It’s a VM afterall. And it will feel sluggish mainly because there’s a lack of hardware acceleration.
This can only be fixed by passing through a graphics card to the VM. To learn how to do that and other tips, and troubleshooting check out the official project on Github.
